PART 3:
3D-Printing the Model on the Prusa
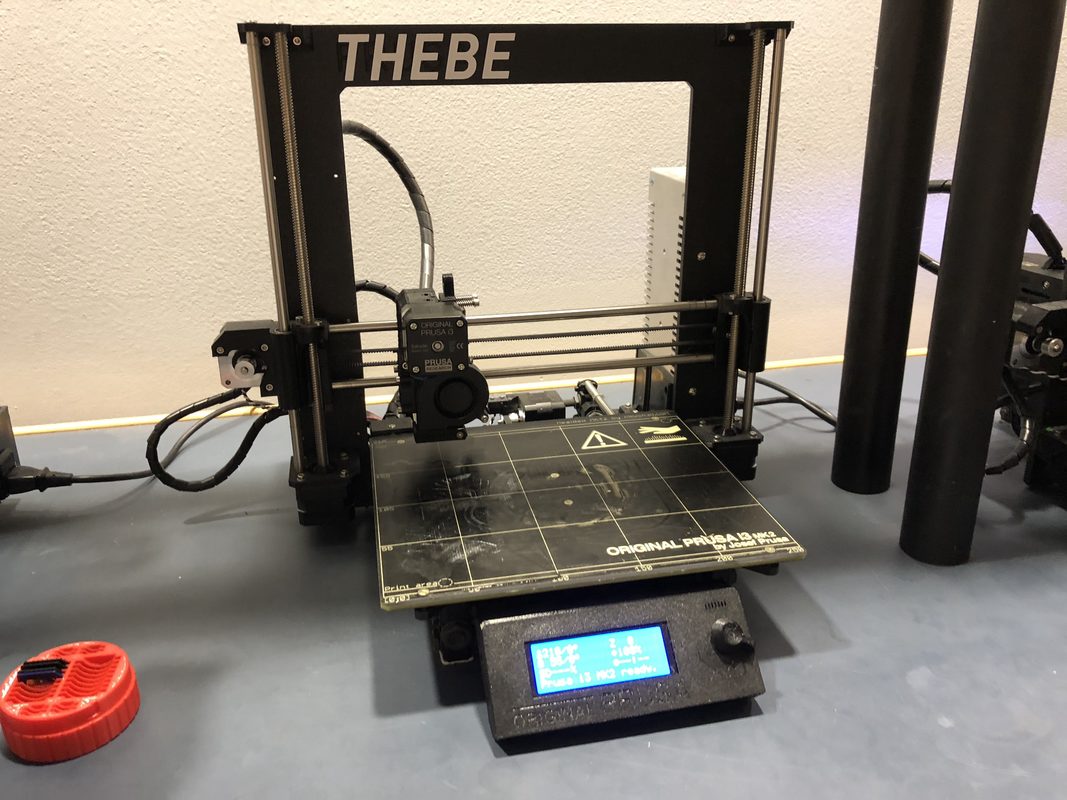
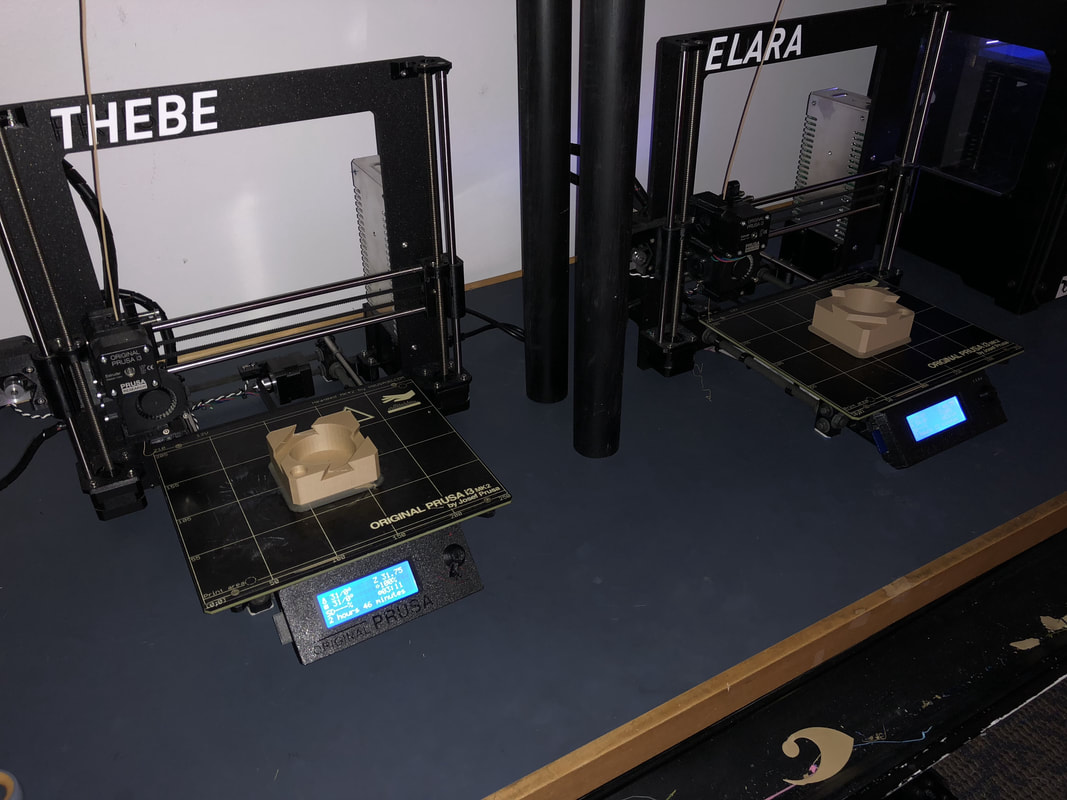
Here's the Prusa i3 Mk2. This will be our printer of choice today, but you can print our model on pretty much any other type of 3D printer out there. You will likely need to use different software than Cura, however. One great thing about this printer is that its build plate (the large flat surface that the part is printed on) gets automatically leveled before you start printing. One less thing to worry about on our end.
Right now, this printer has no filament loaded into it, so let's load in our wooden filament. Before we do that, we need to preheat the printer.
Right now, this printer has no filament loaded into it, so let's load in our wooden filament. Before we do that, we need to preheat the printer.
Step 1: Preheating the Printer
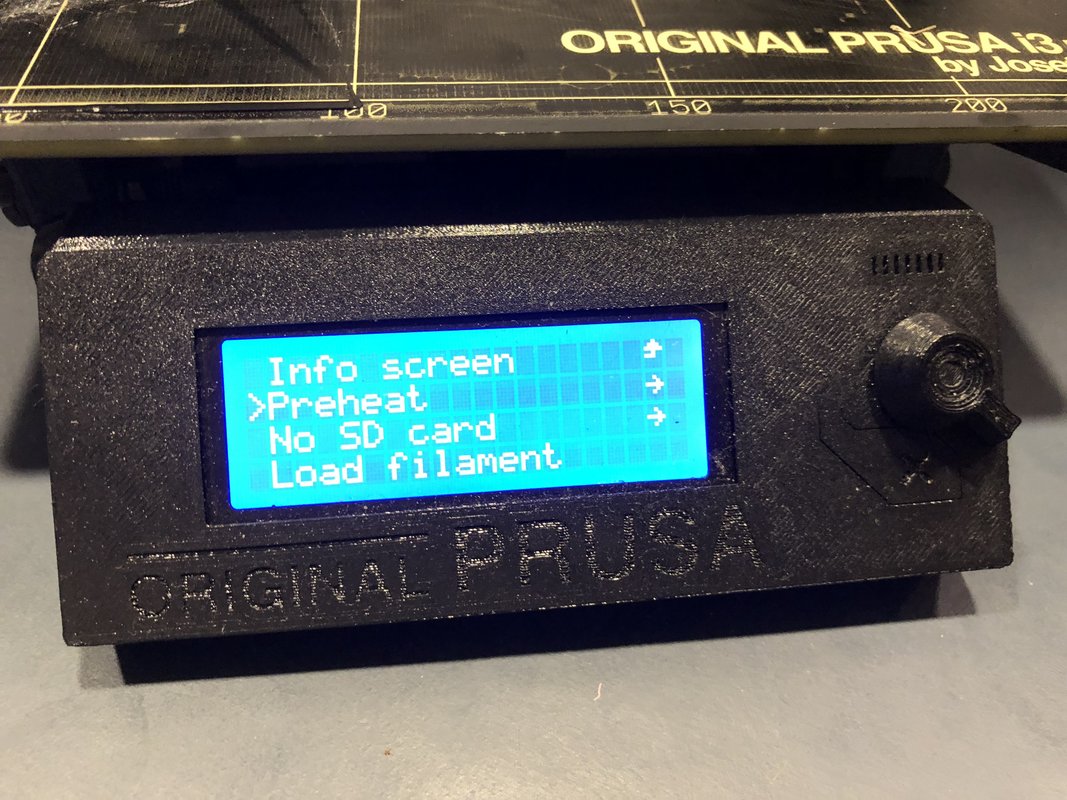
Press the knob to the right of the screen and turn the knob to the right until you reach the "Preheat" option. Then, press the knob again. The screen should now show options for different types of materials. Turn the knob and press to select the PLA option.
Step 2: Loading the Filament
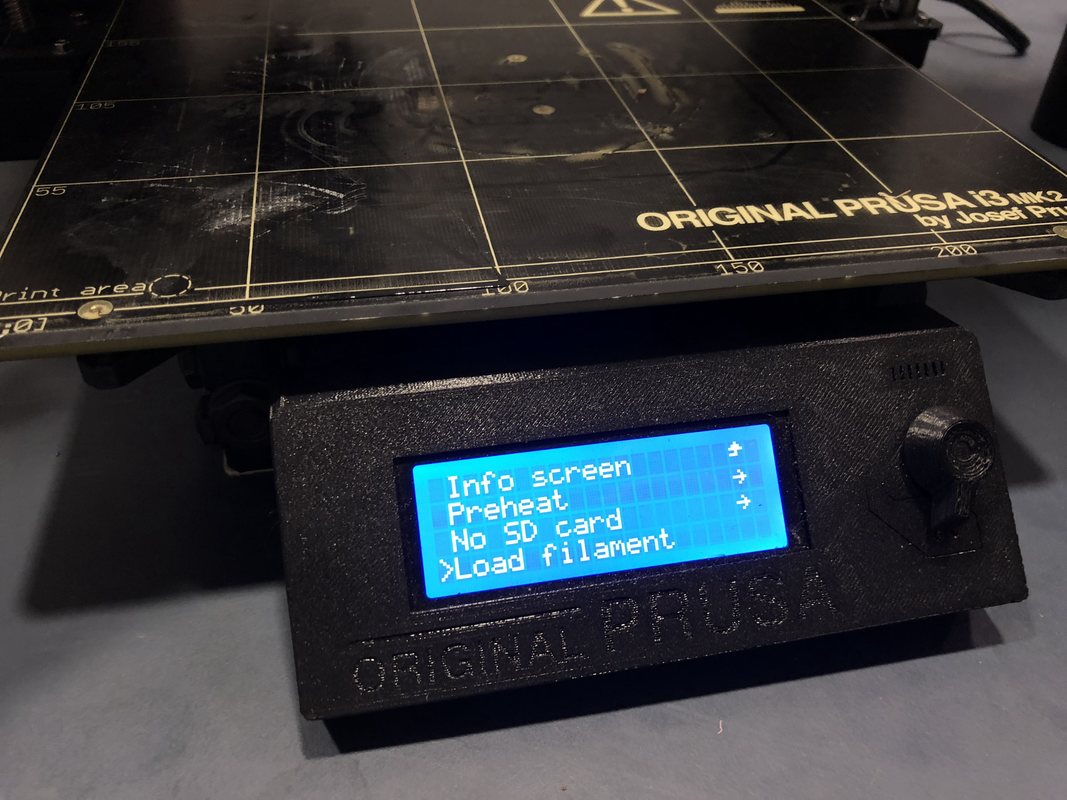
Once the printer is heated (when the numbers on the screen read 200/200 and 60/60), press the knob again and select the "Load filament" option.
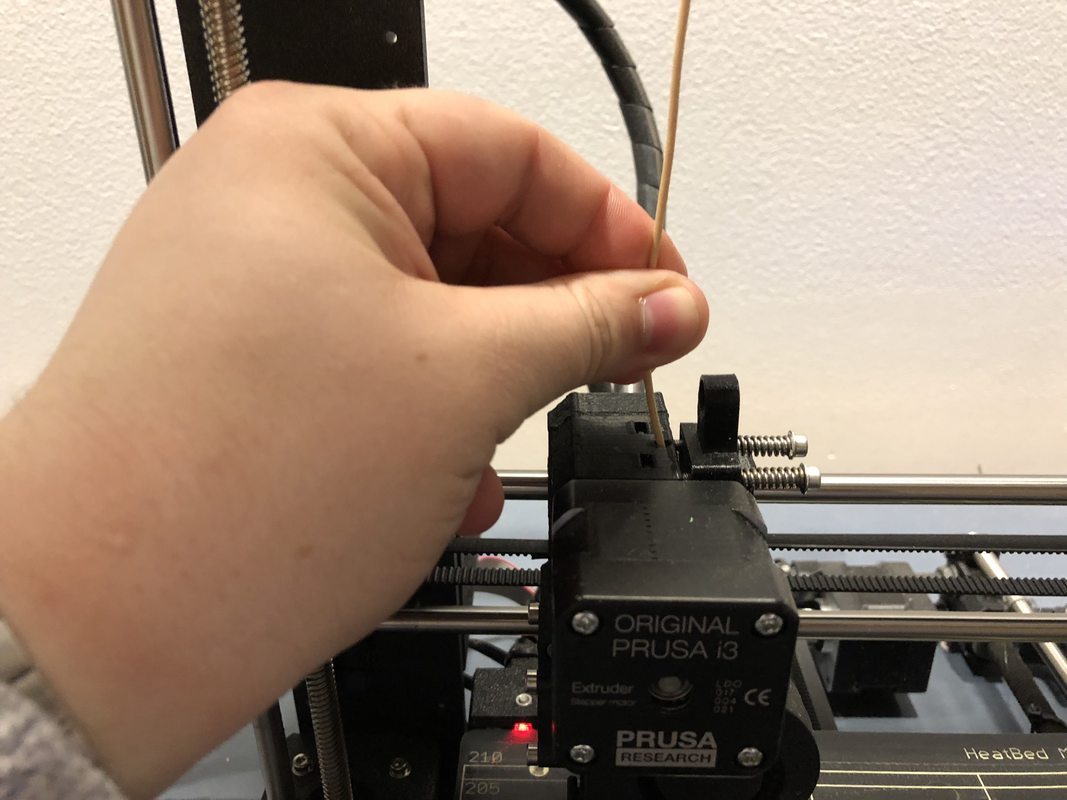
Insert the end of the wood filament into the small hole on top of the print head. You should feel motors inside starting to pull the filament in. The filament should pull in for a while, and then there will likely be a message on the screen asking, "Is the color clear?" This means it wants to know if our filament (specifically our color--we want to see our color come out, especially if there was another color previously loaded) has started coming out of the extruder. If it has not yet come out (it likely won't have when the message first appears), press "no". You may have to clear this message a few times before the filament begins to extrude.
Step 3: Starting the Print
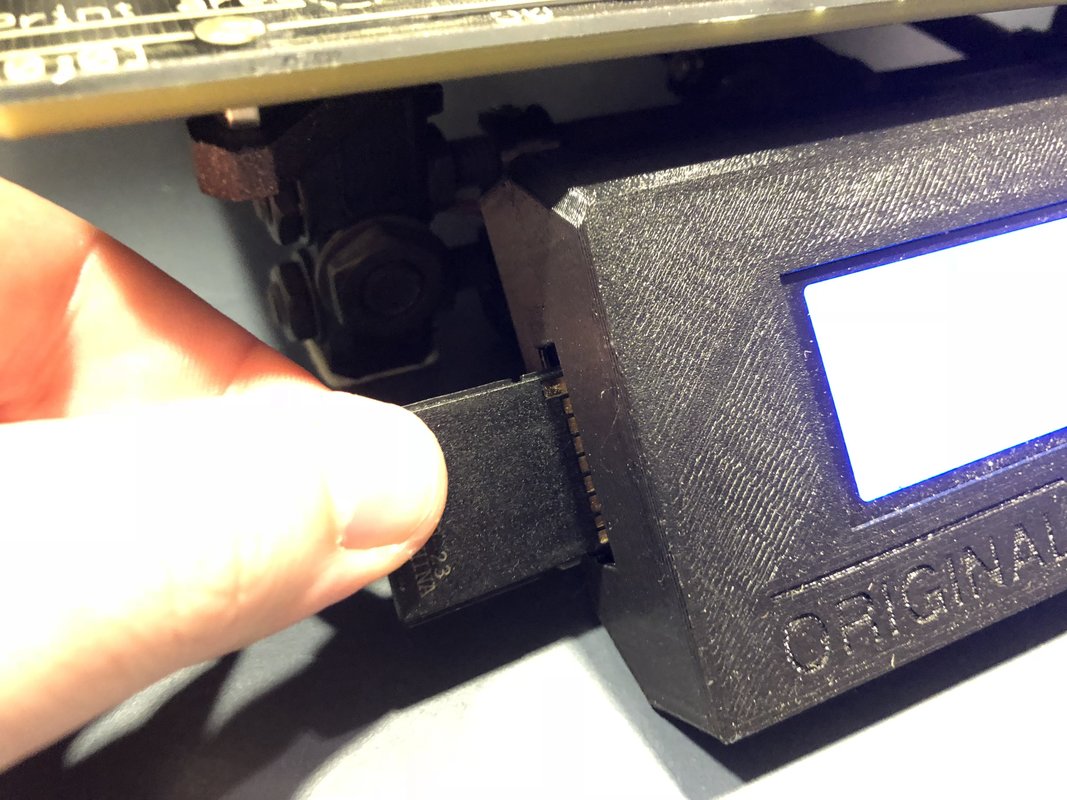
Now that our filament is loaded, insert the SD card into the slot to the side of the screen. Careful: the card goes in backward from how you'd expect.
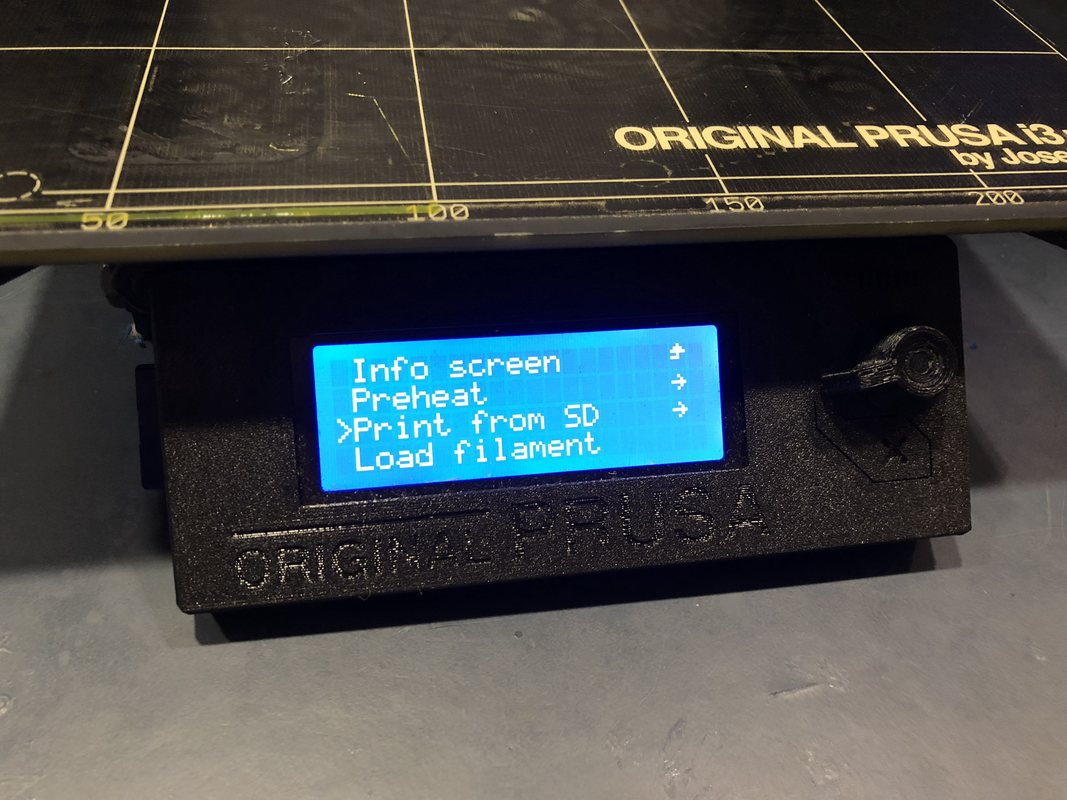
Now, press the knob and select "Print from SD".
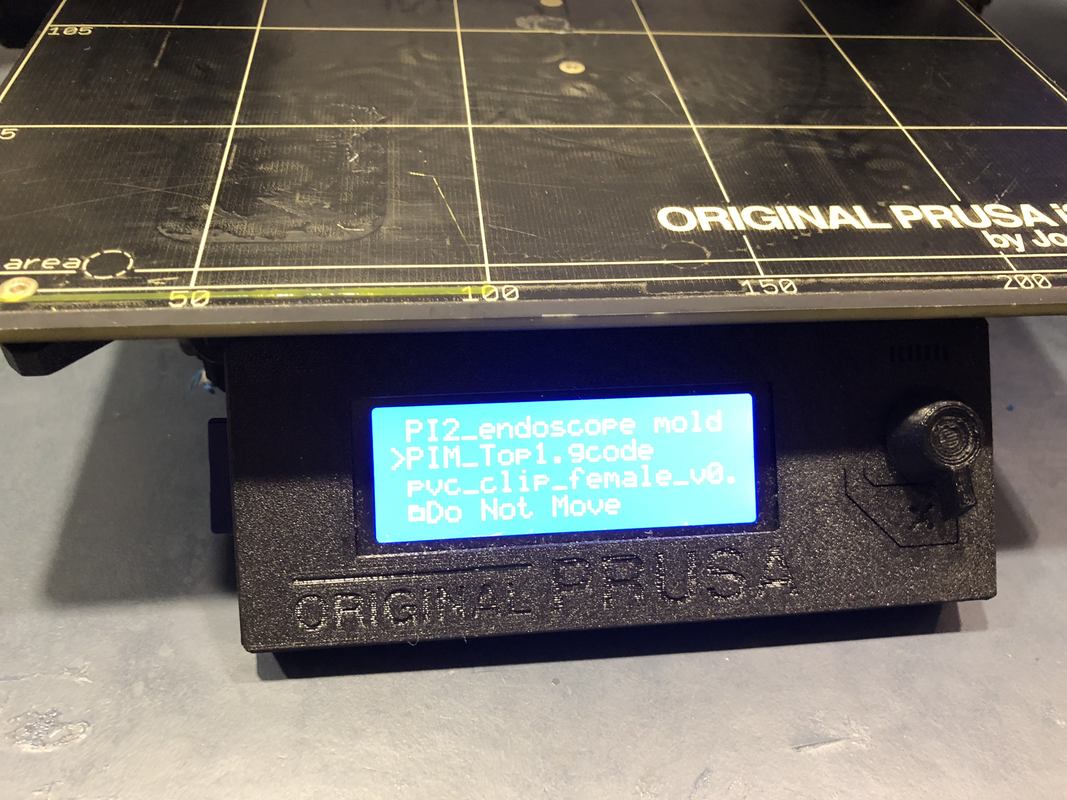
Use the knob to navigate to your file and the press the knob to start the print. Note: unless it was changed in Cura, the file name will be the original file name with "PIM_" in front of it.
Step 4: 3D-Printing!
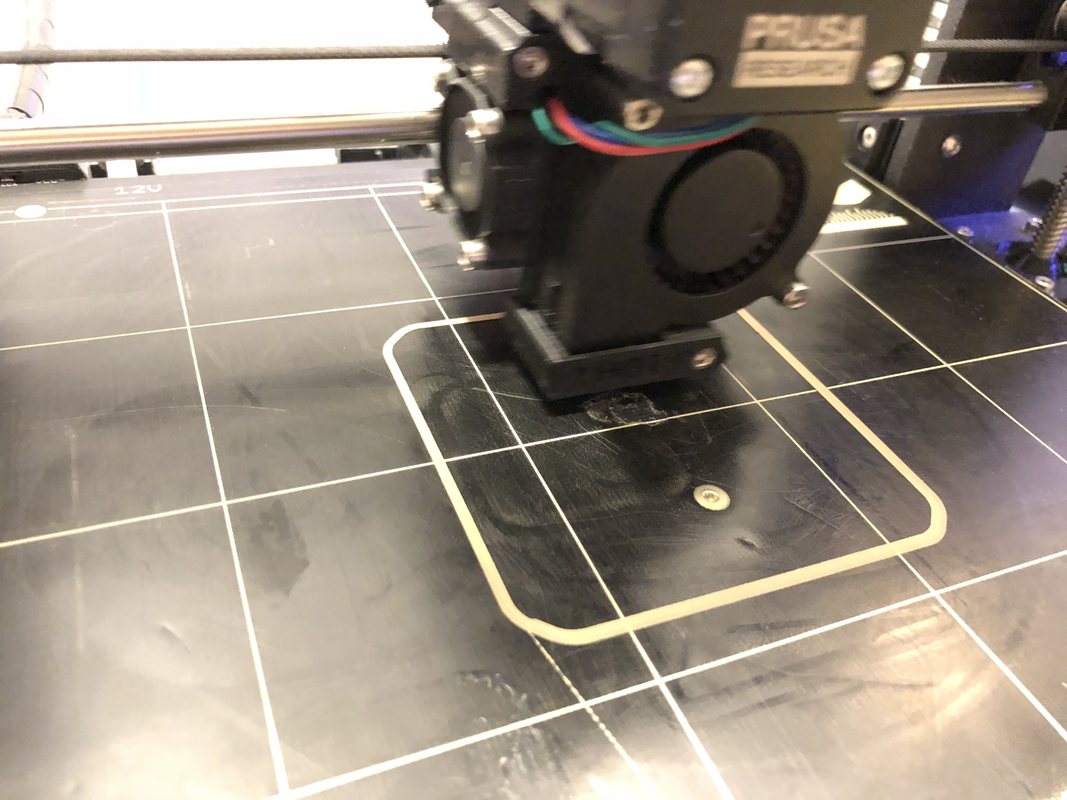
Now is the part where we can just sit back and relax for a little bit while the 3D printer does all the hard work. In the picture above, we can see the printer making the "Brim", just as we selected back in Cura.
Step 5: Removing the Print and Finishing
Hooray! After a few hours of printing, our parts are done and we can remove them from the build plates. I used a large putty knife to do this, but something thin and wedge-shaped (like a knife) should work.

Now, we'll want to peel off the brim. It should rip off fairly easily, but if there are still rough edges, you can file it down with a small handheld file.
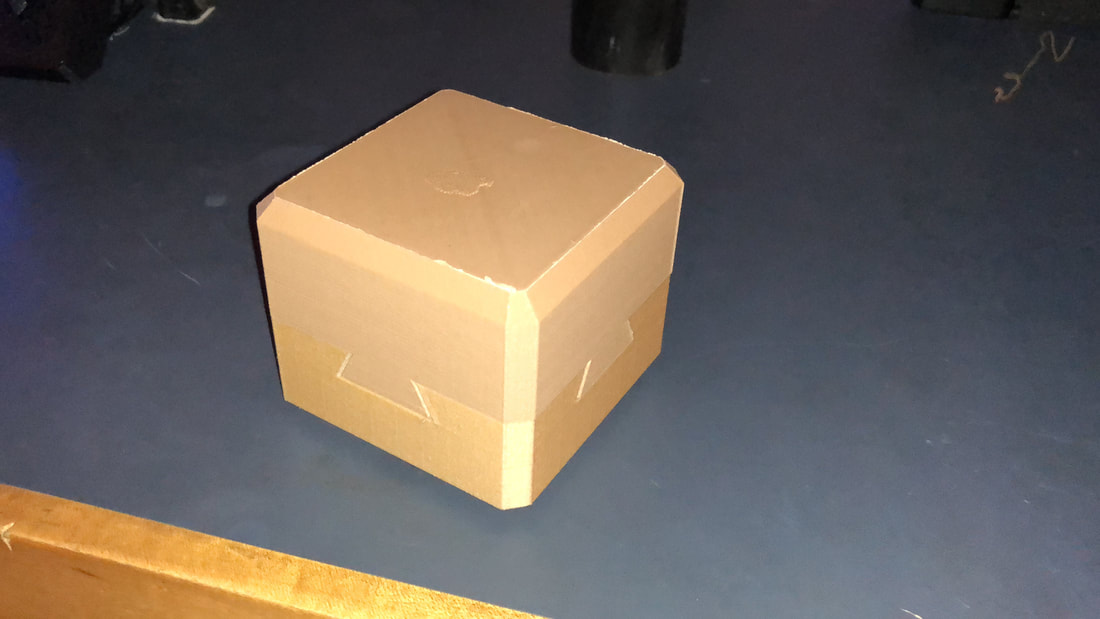
Now let's make sure the parts fit together like we expect. It appears they do! In the next and final step, we'll insert our magnets and marble so our box can lock.