PART 2:
Loading the Model in Cura
Cura is a slicer software that makes models of solid objects, like our box, able to be interpreted by a 3D-printer. Thankfully, they're generally pretty straightforward to use.
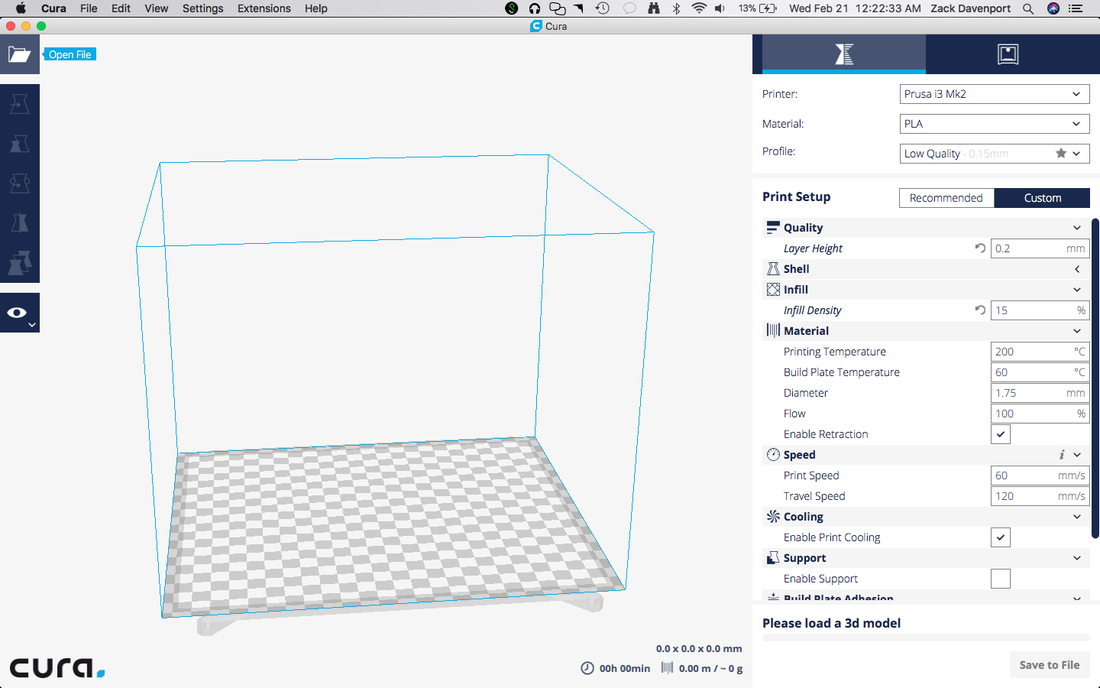
Here's what Cura looks like when you first open it up. The first thing we want to do is load in our pieces. Click the folder icon in the upper left to open a file.
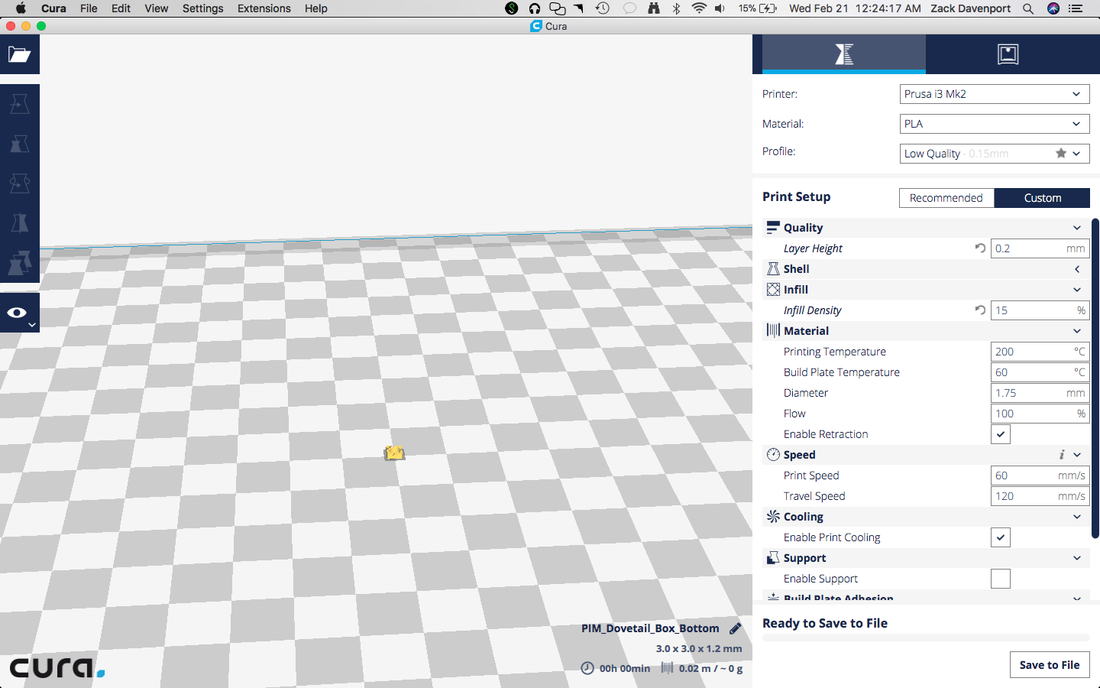
Open either of our two parts from wherever you saved them. You'll notice that when they open, they are very small. This is because SketchUp saved the STL file with units in inches, and Cura is interpreting these units as millimeters.
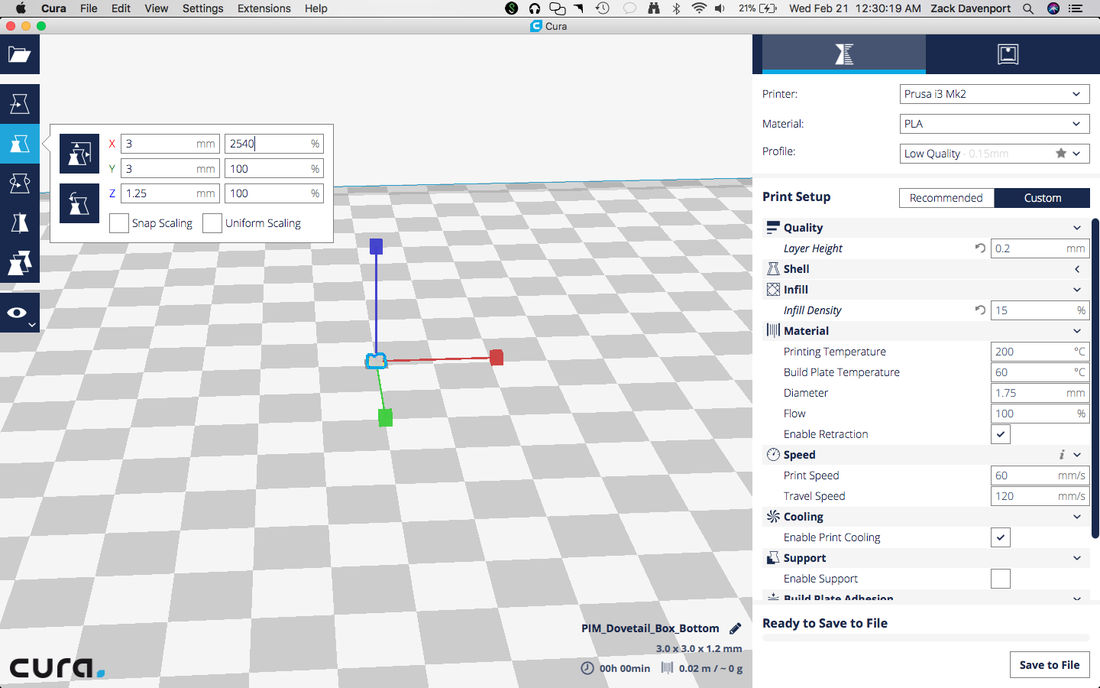
Click on the third icon down on the left side of the screen (the one that looks like a small version and a big version of the object). This will bring up the scaling menu. Be sure to check the box that says "Uniform Scaling." Because there are 25.4 millimeters in an inch, we want to scale up our model by 2540 percent. Type "2540" into any of the three boxes on the right column. The number "2540" should automatically fill the others and the model should get significantly bigger.
Next, be sure that the settings on the right side of the screen match those in the picture above. The infill could be set to 10% or lower for a slightly faster print time, but don't set it lower than 7%.
Next, be sure that the settings on the right side of the screen match those in the picture above. The infill could be set to 10% or lower for a slightly faster print time, but don't set it lower than 7%.
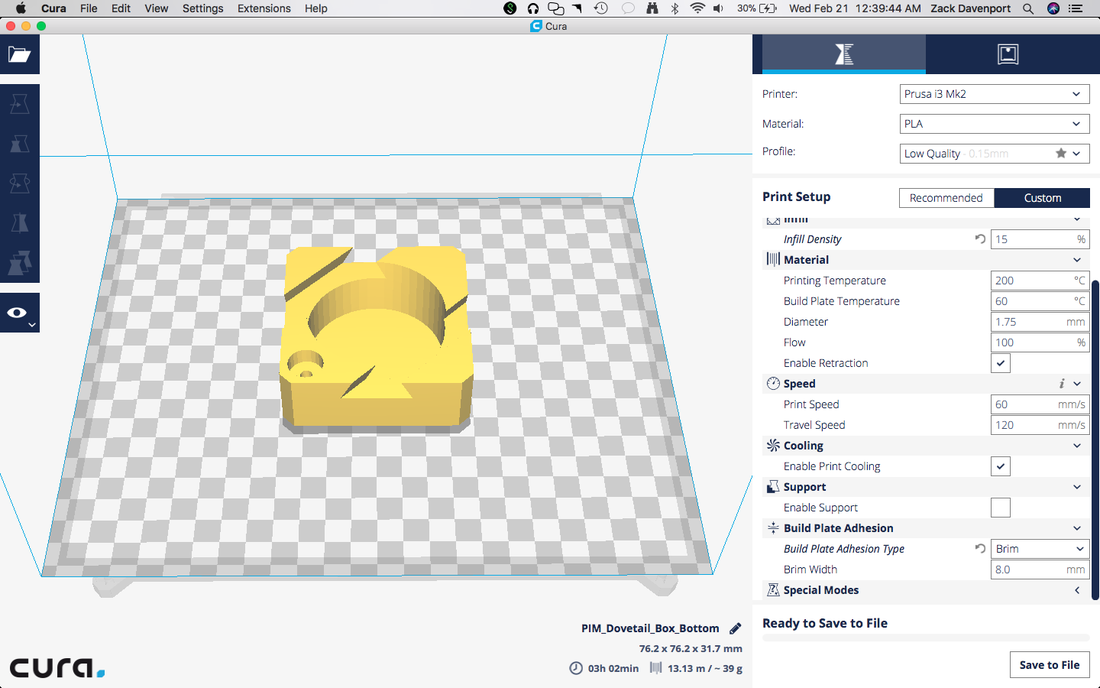
The next thing we'll want to do is turn on the "Brim" option for "Build Plate Adhesion Type" (toward the bottom of the options on the right). This will create a single layer of plastic around the bottom of the model to help it stick better to the printer's build plate.
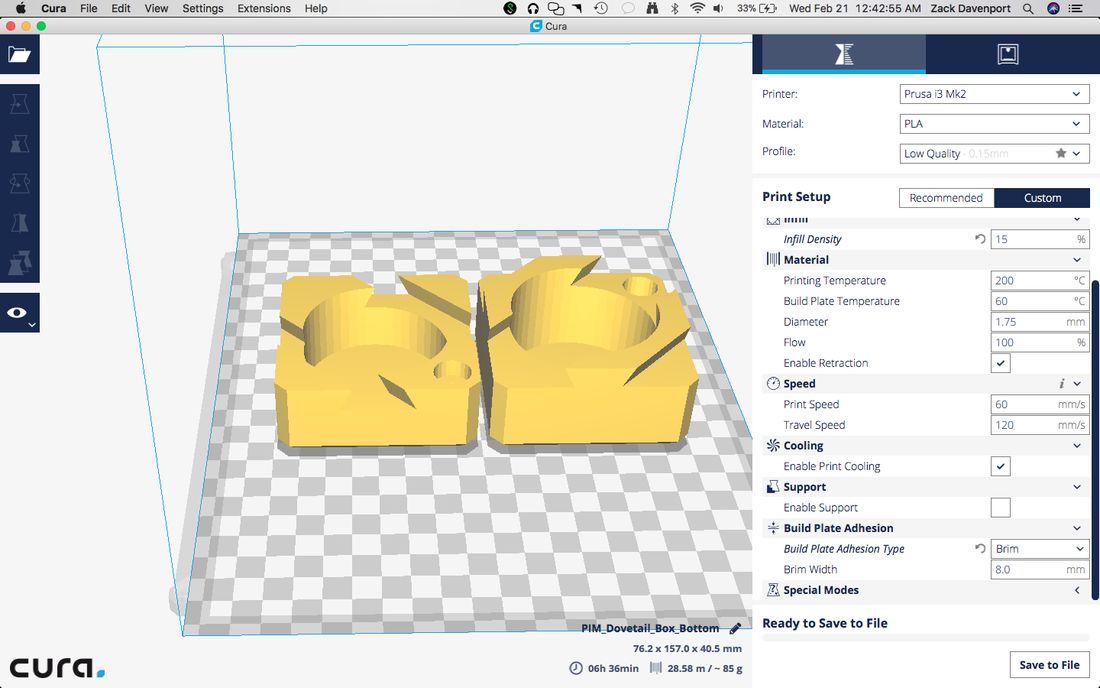
If you wish, you can print both halves of the box at the same time. Load the other half just like we did before and scale it up by 2540%. The screen should look something like the picture above. I printed my two halves on two different printers at the same time for the sake of time.
Next, insert an SD card into your computer. Now, click the "Save to File" button in the bottom right corner of the screen. It should do this automatically, but if it asks what type of file you want to save it as, be sure you save it as a ".gcode" file. Once this has saved, you can remove the SD card from your computer and continue on to Part 3 where we 3D print our box!
Next, insert an SD card into your computer. Now, click the "Save to File" button in the bottom right corner of the screen. It should do this automatically, but if it asks what type of file you want to save it as, be sure you save it as a ".gcode" file. Once this has saved, you can remove the SD card from your computer and continue on to Part 3 where we 3D print our box!